
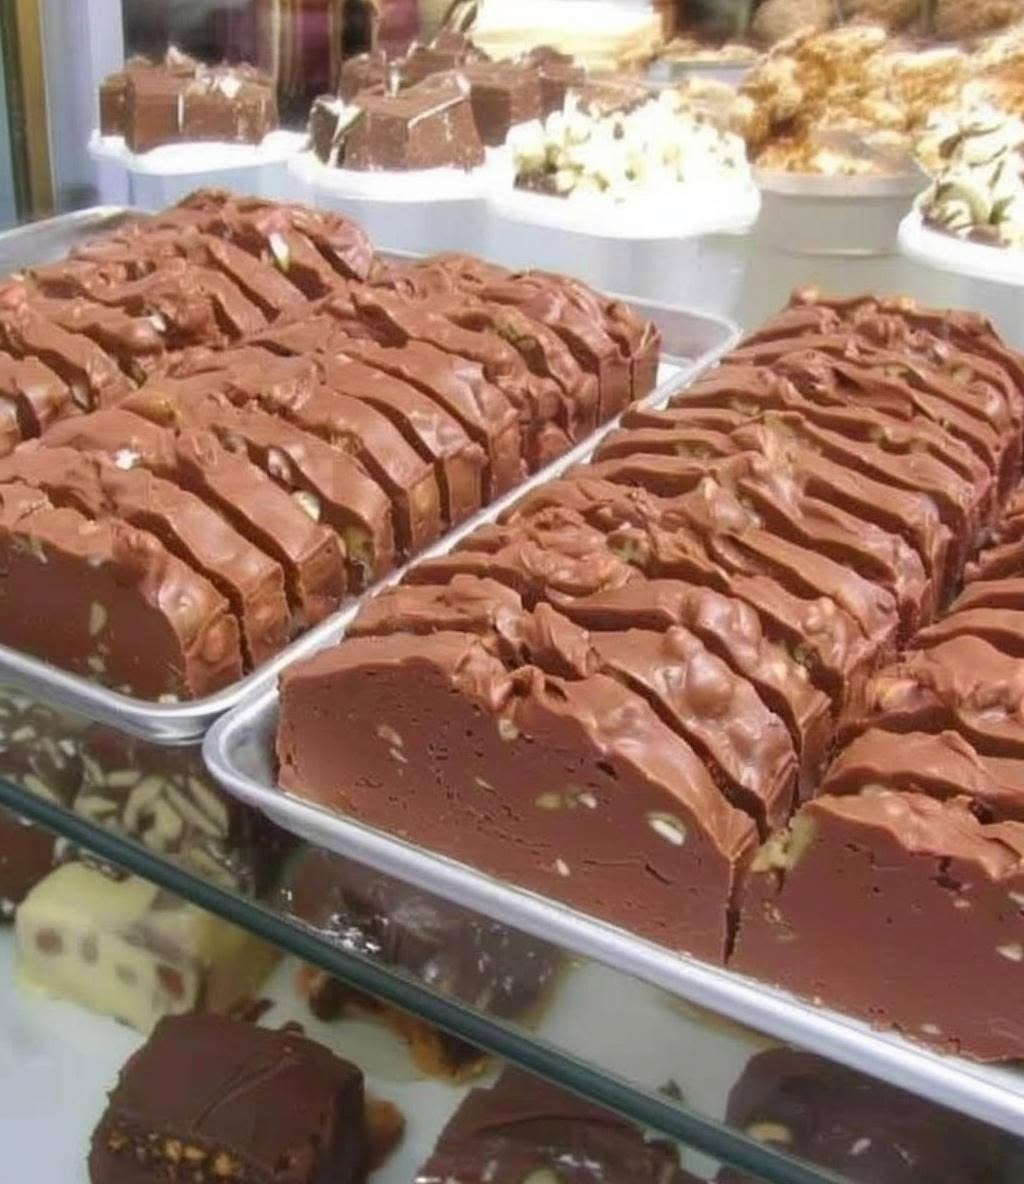
Mom’s Fudge: The Creamy, Rich Classic That Tastes Like a Hug from Grandma (And Actually Works Every Time!)
I’ve kept this list straightforward. These are pantry staples, but quality matters—especially for the cocoa and vanilla.
The Core Ingredients
3 cups granulated sugar: The foundation of our fudge. Don’t reduce—fudge needs sugar for proper texture.
¾ cup unsalted butter, cut into tablespoons: Creates richness and helps prevent crystallization.
Substitute: Salted butter works—just omit any added salt. For dairy-free, try vegan butter (texture may vary slightly).
⅔ cup unsweetened cocoa powder, sifted: Use high-quality cocoa for best flavor. Dutch-process adds depth; natural cocoa is brighter.
Tip: Sifting prevents lumps in your fudge.
⅔ cup whole milk or evaporated milk: Evaporated milk creates a richer, creamier texture and is more forgiving.
Substitute: Whole milk works; avoid skim for best results. For dairy-free, use full-fat canned coconut milk.
1 teaspoon pure vanilla extract: Adds warmth and balances sweetness.
Tip: Add after cooking to preserve flavor.
Pinch of salt: Enhances chocolate flavor and balances sweetness.
Optional Add-Ins (Because Why Not?)
1 cup chopped walnuts or pecans: Classic addition for crunch and nutty richness.
1 cup mini marshmallows: Fold in at the end for rocky road-style fudge.
½ cup peanut butter: Swirl in for peanut butter cup fudge.
1-2 teaspoons instant espresso powder: Deepens chocolate flavor without making it taste like coffee.
Pinch of cinnamon or cayenne: For a subtle, sophisticated warmth.
For the Pan
8×8 inch baking pan: Perfect size for standard batches.
Parchment paper or foil: For easy removal and clean cuts.
Butter or cooking spray: To lightly grease the lining.
👩🍳 Step-by-Step Instructions (So Detailed, You’ll Feel Confident)
1. Prep Your Pan
Line an 8×8 inch baking pan with parchment paper or foil, leaving an overhang on two sides for easy removal. Lightly grease the lining with butter or cooking spray.
Pro tip: The overhang acts as a “sling” to lift the fudge out later—no fighting with stuck edges!
2. Combine Dry Ingredients
In a medium, heavy-bottomed saucepan (3-4 quarts), whisk together the sugar and cocoa powder until no lumps remain.
Why whisk first? This prevents cocoa clumps from forming when liquid is added.
3. Add Wet Ingredients
Add the butter, milk (or evaporated milk), and salt to the saucepan. Stir over medium heat until the butter melts and the mixture is smooth.
Visual cue: The mixture should look glossy and uniform, with no dry spots.
4. Bring to a Boil (The Critical Step!)
Increase heat to medium-high and bring the mixture to a full, rolling boil—one that cannot be stirred down. Stir constantly as it heats to prevent scorching.
Once boiling, start your timer. Boil exactly 5 minutes, stirring constantly.
Why constant stirring? This prevents sugar crystals from forming on the sides of the pan, which can cause grainy fudge.
Visual cues during boiling:
The mixture will bubble vigorously
It will thicken slightly and pull away from the sides of the pan
It will look glossy and dark
Don’t over-boil! More than 5 minutes can cause the fudge to become hard or crumbly.
5. Remove from Heat and Cool
Remove the saucepan from heat. Do not stir. Let the mixture cool undisturbed until the bottom of the pan feels lukewarm to the touch—about 45-60 minutes.
Why no stirring? Stirring while hot can cause premature crystallization, leading to grainy texture.
Pro tip: Place the pan on a wire rack to speed cooling. Avoid placing on a cold surface, which can cause uneven cooling.
6. Add Vanilla and Beat (The Magic Step!)
Once cooled, add the vanilla extract. Using a wooden spoon or hand mixer on low speed, beat the mixture vigorously for 3-5 minutes.
What to watch for:
The fudge will lighten in color
It will thicken and lose its glossy sheen
It will start to hold its shape when dropped from a spoon
Stop beating when: The mixture is thick enough to mound slightly when dropped from a spoon, but still soft enough to spread. Over-beating can make fudge hard.
7. Add Mix-Ins (If Using)
If adding nuts, marshmallows, or other mix-ins, fold them in gently now. Don’t overmix—just incorporate evenly.
8. Spread and Set
Quickly spread the fudge into your prepared pan, smoothing the top with a spatula or the back of a spoon.
Work quickly! Fudge begins to set as it cools.
9. Chill and Cut
Let the fudge cool at room temperature for 1-2 hours until firm. For faster setting, refrigerate for 30-45 minutes.
Use the parchment overhang to lift the fudge onto a cutting board. Cut into 1-inch squares with a sharp knife.
Pro tip: Dip your knife in hot water and wipe dry between cuts for clean edges.
10. Store and Enjoy
Store fudge in an airtight container at room temperature for up to 2 weeks, or refrigerate for up to 3 weeks. For longer storage, freeze for up to 3 months.
Serve at room temperature for the creamiest texture.
💡 Tips for Perfect Fudge Every Time
🔹 Use a heavy-bottomed pan: It distributes heat evenly, reducing the risk of scorching.
🔹 Don’t skip the cooling step: Letting the mixture cool before beating is crucial for smooth texture. Rushing this step = grainy fudge.
🔹 Beat until it changes: The mixture should visibly thicken and lighten. If it still looks glossy and runny, keep beating.
🔹 Work in a cool, dry kitchen: Humidity can affect fudge setting. Avoid making fudge on very humid days if possible.
🔹 Don’t double the recipe: Fudge is sensitive to volume. If you need more, make two separate batches.
🔹 Clean the pan immediately: Sugar hardens quickly. Soak the pan in warm water right after use.
🌟 Delicious Ways to Customize Mom’s Fudge
This classic recipe is a beautiful blank canvas. Try these easy twists:
🥜 Peanut Butter Swirl: Drop spoonfuls of creamy peanut butter onto the spread fudge, then swirl gently with a knife for marbled effect.
🍬 Rocky Road: Fold in 1 cup mini marshmallows + ½ cup chopped walnuts after beating.
🍪 Cookies & Cream: Fold in ½ cup crushed Oreos or chocolate wafer cookies after beating.
🌶️ Mexican Chocolate: Add ½ teaspoon cinnamon + pinch of cayenne to the sugar-cocoa mixture before cooking.
☕ Mocha Fudge: Dissolve 1-2 teaspoons instant espresso powder in the milk before adding to the pan.
🥥 Coconut Chocolate: Fold in ½ cup toasted shredded coconut after beating.
🍊 Orange Chocolate: Add 1 tablespoon orange zest + ½ teaspoon orange extract with the vanilla.
🎄 Holiday Peppermint: Fold in ½ cup crushed candy canes after beating. Top with extra crushed candy for festive flair.
Next »
📦 Storage Instructions: Keep It Fresh
Room Temperature
✨ Store in an airtight container with parchment between layers for up to 2 weeks. Keep in a cool, dry place.
Refrigerator
✨ Store in an airtight container for up to 3 weeks. Let come to room temperature before serving for best texture.
Freezer
✨ Wrap individual pieces or the whole block tightly in plastic wrap, then place in a freezer bag. Freeze for up to 3 months. Thaw at room temperature before serving.
Gifting
✨ Wrap squares in cellophane or wax paper, tie with ribbon, and add a tag. Fudge travels well and makes a heartfelt homemade gift.
❓ Frequently Asked Questions
Why is my fudge grainy?
This usually means sugar crystals formed during cooking. To prevent: stir constantly while boiling, don’t splash sugar onto the pan sides, and let the mixture cool completely before beating.
Why is my fudge too soft or won’t set?
This usually means it wasn’t boiled long enough or wasn’t beaten enough. Next time, ensure a full rolling boil for exactly 5 minutes, and beat until the mixture thickens and lightens.
Why is my fudge too hard or crumbly?
This usually means it was over-boiled or over-beaten. Stick to the 5-minute boil time and stop beating when the mixture just holds its shape.
Can I use a candy thermometer?
Yes! If you prefer, cook the mixture to the soft-ball stage (234-240°F / 112-116°C). But the 5-minute boil method is reliable and doesn’t require special equipment.
Can I make this vegan?
Use vegan butter and full-fat canned coconut milk. Texture may vary slightly but will still be delicious.
Can I use dark cocoa or black cocoa?
Yes! Dark cocoa adds deeper flavor; black cocoa creates an “Oreo-style” fudge. You may want to increase sugar slightly if using very bitter cocoa.
Why did my fudge develop a white film on top?
This is sugar bloom—harmless but affects appearance. To prevent: avoid humidity, store in an airtight container, and don’t refrigerate unless necessary.
Can I make this in a different pan size?
For a 9×9 pan, the fudge will be thinner. For a 9×13, double the recipe (in two batches). For thicker fudge, use an 8×8 pan as directed.
How do I know when it’s done beating?
The mixture will thicken, lighten in color, and lose its glossy sheen. When dropped from a spoon, it should mound slightly but still be soft enough to spread.
💙 A Little Sweetness, Straight from the Heart
There’s something deeply satisfying about turning simple ingredients into a treat that feels both indulgent and nostalgic. Mom’s Fudge isn’t just a recipe—it’s a connection to generations of bakers who’ve stirred pots of love and shared squares of comfort.
Whether you’re wrapping it for a holiday gift, bringing it to a potluck, or just treating yourself to something sweet after a long day, I hope this recipe brings a little joy to your kitchen.
Did you try this recipe? Did you stick to classic chocolate or try the peanut butter swirl? Did you add nuts or keep it smooth? I’d love to hear how you made it yours! Drop a comment below and share your story. And if you know someone who loves homemade candy or needs a foolproof fudge recipe, pass this along. Here’s to creamy squares, sweet memories, and the quiet magic of recipes made with love. 🍫✨
