
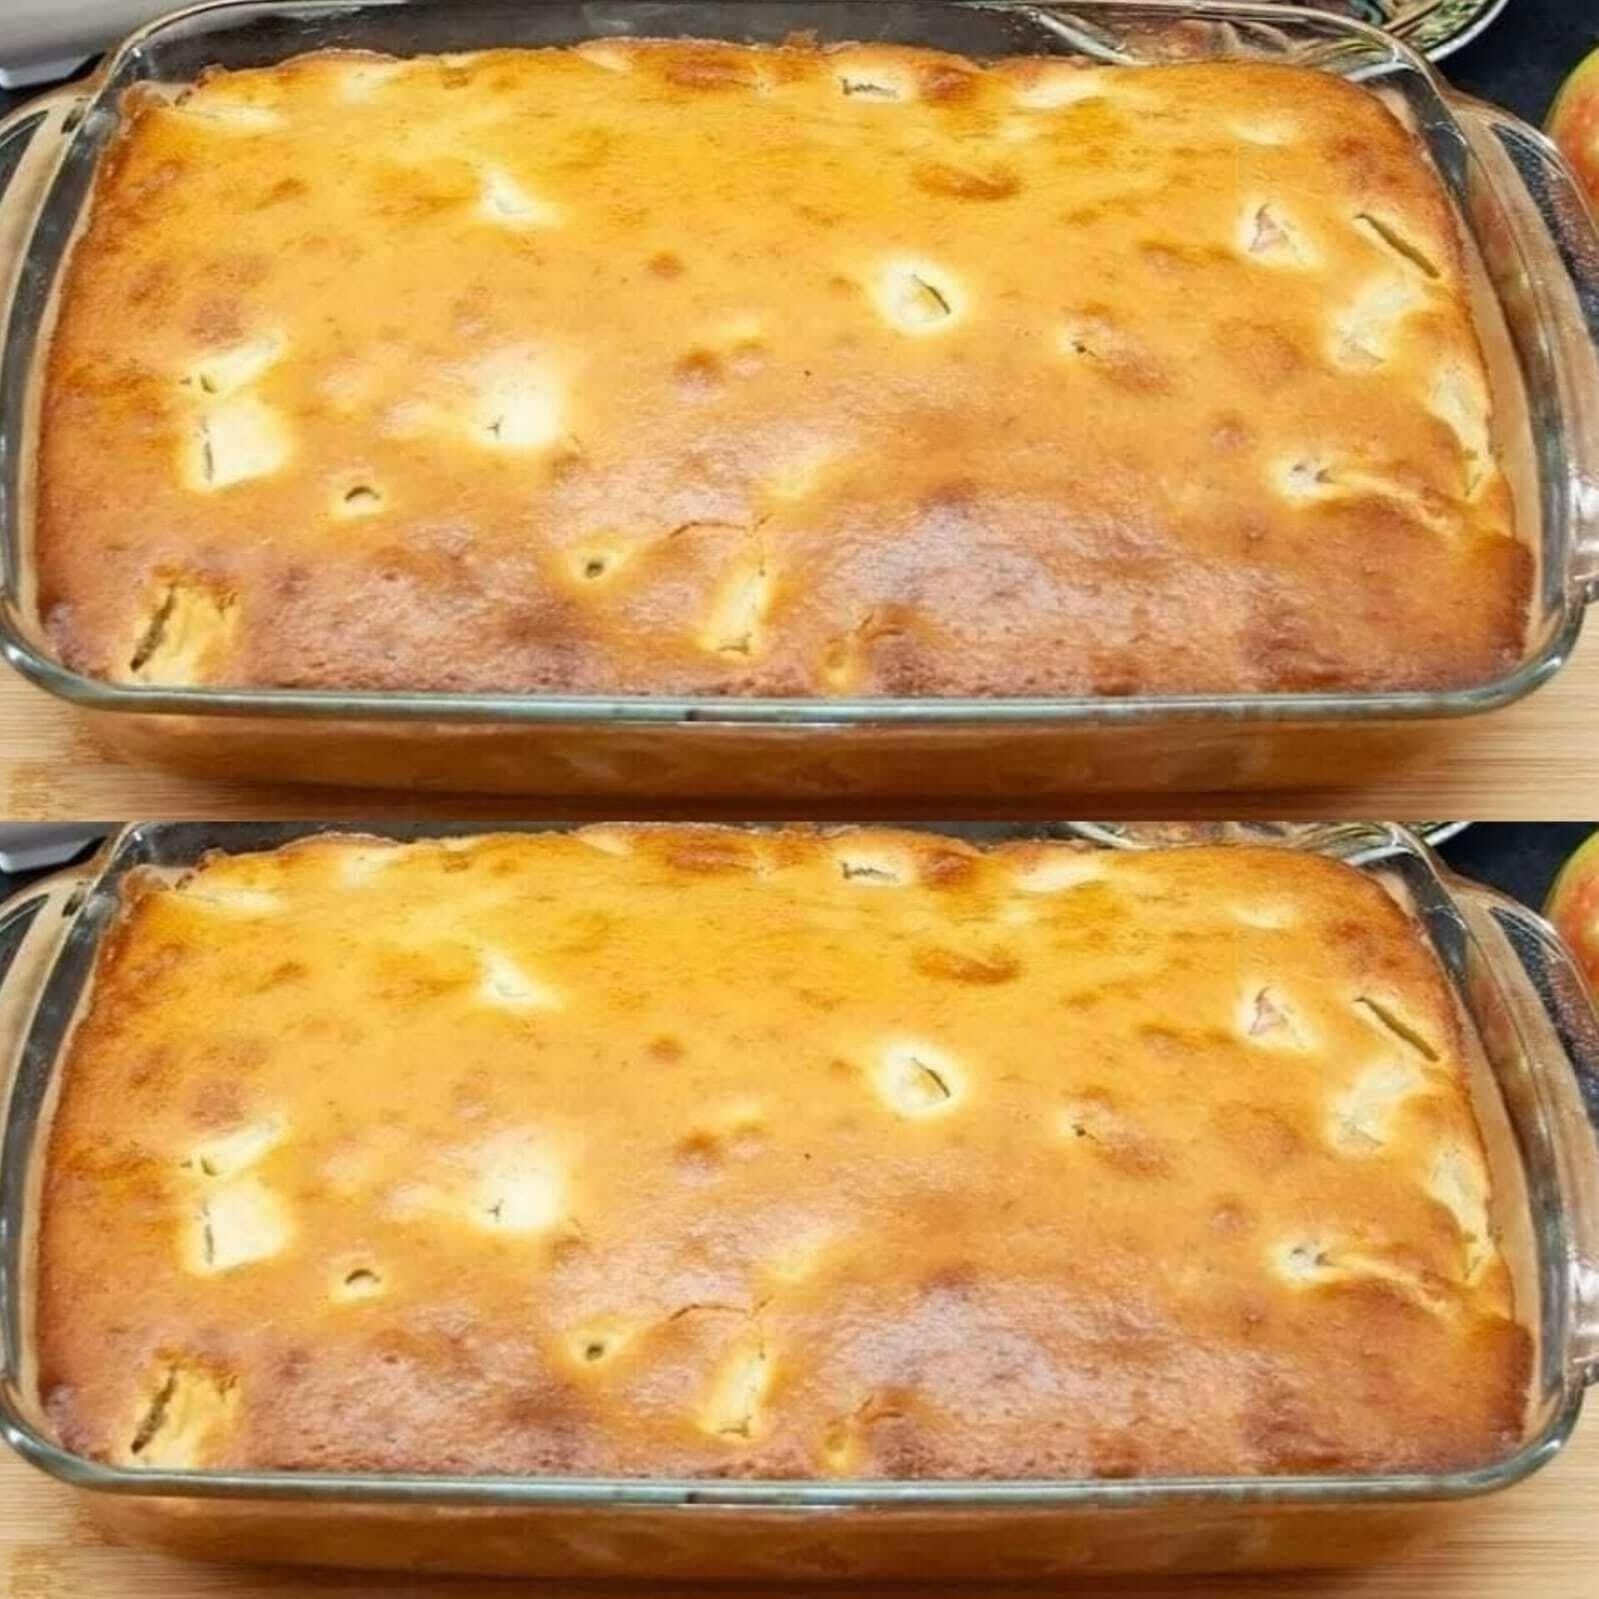
Homemade Crust (Highly Recommended):
2 ½ cups (315g) all-purpose flour
1 teaspoon salt
1 tablespoon granulated sugar
1 cup (226g) cold unsalted butter, cut into ½-inch cubes (or ½ cup butter + ½ cup shortening)
6-8 tablespoons ice water
Store-bought crust shortcut: Use two refrigerated pie crusts (the kind that come rolled in a box). No judgment. But homemade is noticeably better.
For the Melt-in-Your-Mouth Apple Filling:
2 ½ pounds (about 1.1 kg) mixed apples (50% Granny Smith, 50% Honeycrisp – about 5-6 medium apples total)
¾ cup (150g) dark brown sugar, packed (light brown sugar works too, but dark gives deeper molasses flavor)
¼ cup (50g) granulated sugar
2 tablespoons fresh lemon juice (prevents browning, brightens flavor)
1 teaspoon ground cinnamon
¼ teaspoon freshly grated nutmeg (pre-ground is weaker – grate it fresh)
¼ teaspoon ground allspice
¼ teaspoon salt
3 tablespoons cornstarch
2 tablespoons unsalted butter, cut into small pieces (for dotting the filling)
For the Egg Wash and Topping:
1 large egg
1 tablespoon water
1 tablespoon coarse sugar (turbinado or sanding sugar – optional but wonderful)
Substitutions & Swaps:
No Honeycrisp? Use Fuji, Gala, or Pink Lady. Avoid Red Delicious (mealy) and McIntosh (too soft).
No Granny Smith? Use Braeburn or Jonagold. You want something tart and firm.
Gluten-free: Use a 1:1 gluten-free flour blend for the crust. Add ¼ teaspoon xanthan gum if your blend doesn’t include it.
Vegan: Use a vegan butter stick (Earth Balance or Miyoko’s) for the crust. Omit the egg wash (brush with plant milk instead).
Lower sugar: Reduce brown sugar to ½ cup. The apples (especially Honeycrisp) provide natural sweetness.
Step-by-Step – The Path to Pie Greatness
Step 1: Make the Crust (Or Unroll the Store-Bought)
If making homemade crust: In a food processor, pulse flour, salt, and sugar to combine. Add cold butter cubes. Pulse until the mixture resembles coarse meal with pea-sized butter pieces. Add ice water 1 tablespoon at a time, pulsing just until the dough comes together. Divide into two disks, wrap in plastic, and refrigerate for at least 1 hour (or up to 2 days).
Why this matters: Cold butter is the secret to flaky crust. When cold butter hits the hot oven, it melts and creates steam, which separates the layers of dough. Warm butter just melts into the flour, creating a dense, shortbread-like crust.
Store-bought shortcut: Remove refrigerated crusts from the fridge 15 minutes before rolling.
Step 2: Preheat and Position
Preheat your oven to 400°F (200°C) . Place a large, rimmed baking sheet on the lower rack. This will catch any drips and provide bottom heat for a crispy bottom crust.
Step 3: Prepare the Apples
Peel, core, and slice the apples into ¼-inch thick slices. Not paper-thin (they’ll disintegrate). Not thick chunks (won’t cook through). Aim for even, slender slices.
Place the sliced apples in a large bowl. Toss with lemon juice immediately to prevent browning.
Step 4: Cook the Filling (The Secret Step)
In a large, heavy-bottomed pot or Dutch oven, combine the sliced apples, dark brown sugar, granulated sugar, cinnamon, nutmeg, allspice, and salt.
Cook over medium heat, stirring occasionally, until the apples begin to release their juices and the sugar dissolves – about 5-7 minutes.
Continue cooking for another 8-10 minutes, until the apples have softened slightly and the liquid has thickened into a syrupy glaze. The apples should be tender but still hold their shape.
Pro tip: Don’t overcook. You want the apples to be just shy of “apple sauce” texture. They’ll continue cooking in the oven.
Step 5: Thicken with Cornstarch
In a small bowl, whisk the cornstarch with 2 tablespoons of water to make a slurry.
Pour the slurry into the hot apple mixture. Stir constantly for 1-2 minutes, until the liquid turns translucent and thickens into a glossy, jammy consistency.
Remove from heat. Let the filling cool for 15-20 minutes (or refrigerate until completely cooled – this helps prevent a soggy bottom crust).
Step 6: Roll Out the Bottom Crust
On a lightly floured surface, roll out one disk of dough into a 12-inch circle (about ⅛-inch thick). Transfer to a 9-inch pie plate. Gently press the dough into the bottom and up the sides. Trim the overhang to about ½ inch.
Don’t stretch the dough. If it stretches, it will shrink during baking. Gently lift and press.
Step 7: Fill the Pie
Pour the cooled apple filling into the prepared bottom crust. Spread it into an even layer. Dot the top with the small pieces of butter (this adds richness and shine).
Step 8: Roll and Add the Top Crust
Roll out the second disk of dough into a 12-inch circle. Place it over the filling.
Trim the overhang to ½ inch. Fold the top crust’s edge under the bottom crust’s edge. Crimp with your fingers or a fork to seal.
Optional but beautiful: Cut slits in the top crust (for steam to escape) or create a lattice top.
Step 9: Egg Wash and Sugar
In a small bowl, beat the egg with 1 tablespoon of water. Brush the egg wash over the top crust (not the crimped edges – they burn).
Sprinkle generously with coarse sugar. This creates a sparkling, crackly top crust.
Step 10: Bake
Place the pie on the preheated baking sheet in the oven. Bake at 400°F for 20 minutes.
Reduce temperature to 375°F (190°C) . Continue baking for another 30-40 minutes, until the crust is deep golden brown and you can see the filling bubbling through the vents.
If the edges brown too quickly: Loosely cover them with foil or a pie shield after 25 minutes.
Step 11: Cool Completely (The Hardest Part)
Remove the pie from the oven. Place on a wire rack. Let it cool for at least 3-4 hours – preferably overnight.
Do not cut into a warm pie. The filling needs time to set. Warm pie = runny, soupy slices. Cool pie = clean, sturdy slices. This is non-negotiable.
My Best Tips for Pie Perfection
Use a mix of apples. Granny Smith alone is too tart and stays too firm. Honeycrisp alone is too soft and sweet. Together, they’re perfect.
Cook the filling first. This is the single biggest difference between a good apple pie and a great one. Raw apples release liquid as they bake, leading to a gap between the filling and the top crust. Pre-cooking solves that.
Cool the filling before adding to the crust. Hot filling will melt the butter in your bottom crust, leading to sogginess. Refrigerate it for 30 minutes.
Keep your butter cold. For the crust, everything should be cold – flour, butter, water, even your hands if possible.
Use a baking sheet underneath. The extra bottom heat helps the bottom crust crisp up. This is especially important if you’re using a glass or ceramic pie plate (which are poor heat conductors).
Let the pie cool completely. I know it’s hard. I know it smells incredible. But patience is rewarded with clean, beautiful slices.
The Apple Breakdown: Why Granny Smith + Honeycrisp Works
Apple Tartness Sweetness Texture Best For
Granny Smith High Low Firm, crisp Tartness, structure
Honeycrisp Low High Tender, juicy Sweetness, soft filling
Fuji Low High Crisp Sweetness (alternative)
Braeburn Medium Medium Firm Tartness (alternative)
Pink Lady Medium Medium-High Crisp Balance (alternative)
The magic: Granny Smith provides the backbone – slices that hold their shape and cut through the sweetness with bright tartness. Honeycrisp provides the “melt” – those soft, almost jammy pieces that dissolve on your tongue. Together, they create texture and flavor complexity that no single apple can achieve.
Fun Variations (Once You’ve Mastered the Classic)
Cheddar Apple Pie – Add ½ cup shredded sharp cheddar cheese to the crust (mix into the flour before adding butter). Serve warm slices with additional cheddar on top. This is a traditional New England combination that sounds weird and tastes incredible.
Salted Caramel Apple Pie – Replace ¼ cup of brown sugar with ¼ cup caramel sauce. Add ½ teaspoon flaky sea salt to the filling. Drizzle extra caramel and sprinkle salt on top before serving.
Dutch Apple Crumb Pie (No Top Crust) – Omit the top crust. Mix 1 cup flour, ½ cup brown sugar, ½ cup oats, and ½ cup cold butter (cut in). Sprinkle over the filling. Bake as directed.
Bourbon Maple Apple Pie – Add 2 tablespoons bourbon and 2 tablespoons maple syrup to the filling (reduce granulated sugar by 1 tablespoon). The bourbon adds warmth; the maple adds depth.
Apple Cranberry Pie – Replace 1 cup of apples with 1 cup fresh or frozen cranberries (if using frozen, do not thaw). Add ¼ cup extra sugar. The tart cranberries are beautiful with the sweet apples.
How to Store and Serve
Room temperature: Apple pie is best served at room temperature (not warm, not cold). The flavors are fullest and the filling is perfectly set.
Refrigerator: Store leftovers in the refrigerator for up to 4 days. Cover loosely with foil. Bring to room temperature before serving (or warm gently).
Reheating: Warm individual slices in a 300°F oven for 10-15 minutes. Or microwave for 20-30 seconds (the crust will soften).
Freezer: Freeze the unbaked assembled pie (wrapped tightly in plastic and foil) for up to 3 months. Bake from frozen, adding 20-30 minutes to the bake time. Or freeze baked pie for up to 3 months; thaw overnight in the refrigerator, then reheat at 300°F for 20 minutes.
Serving suggestions: Vanilla bean ice cream is the classic pairing. Also wonderful with whipped cream, sharp cheddar cheese, or a drizzle of warm caramel sauce.
Frequently Asked Questions
Why is my apple pie runny?
Two culprits: (1) You didn’t cook the filling long enough on the stovetop (the cornstarch needs heat to activate). (2) You cut into the pie while it was still warm. Let it cool completely – 3-4 hours minimum.
Why is my bottom crust soggy?
You didn’t pre-cook the filling (raw apples release liquid). Or you added the filling while it was still hot (melted the butter). Or your oven wasn’t hot enough. Use the baking sheet underneath next time.
Can I use pre-ground nutmeg?
You can, but freshly grated nutmeg is noticeably more fragrant and flavorful. A whole nutmeg costs $1 and lasts for years. Use a microplane or fine grater.
Can I make this pie gluten-free?
Yes. Use a 1:1 gluten-free flour blend for the crust. Gluten-free crusts are more delicate – handle gently. The filling is naturally gluten-free.
Can I freeze this pie before baking?
Absolutely. Assemble the pie completely (do not cut vents). Wrap tightly in plastic wrap, then foil. Freeze for up to 3 months. Bake from frozen at 400°F for 20 minutes, then 375°F for 50-60 minutes. No need to thaw.
How do I get a shiny, golden crust?
Egg wash (1 egg + 1 tablespoon water) brushed on the top crust. For extra shine, use just the yolk. For a matte, rustic look, use milk or cream.
My crust shrunk during baking. What happened?
You stretched the dough when placing it in the pie plate. Always gently lift and press – never pull or stretch. Chilling the dough before rolling also helps prevent shrinkage.
A Warm, Encouraging Conclusion
Here’s what I love most about this Melt-in-Your-Mouth Apple Pie: it’s a project worth doing.
Not every recipe is. Some are quick weeknight fixes, and that’s fine. But this pie is for Sundays. For holidays. For the times when you want to fill your house with the smell of cinnamon and butter and apples, and you want the people you love to gather in the kitchen and ask, “Is it done yet?”
My grandmother is gone now. But every time I make her pie – with the Granny Smiths and the Honeycrisps, with the stovetop filling and the flaky crust – I feel her there. Watching. Nodding. Finally saying, “There you go, honey. That’s it.”
Now it’s your turn.
Did you make this pie? I genuinely want to know. Did you use the 50/50 apple blend? Did you pre-cook the filling? Did you burn your mouth on a too-warm slice because you couldn’t wait? (I’ve done that too.) Drop a comment below – your wins and your “oops” moments make this community so much better.
And if this recipe becomes your new Thanksgiving tradition (or your new Tuesday tradition), please share it with a friend who needs a showstopper dessert. A text, a pin, a shared link. Great recipes are meant to be passed down.
Now go peel those apples. Your pie is waiting. 🍎🥧✨
