
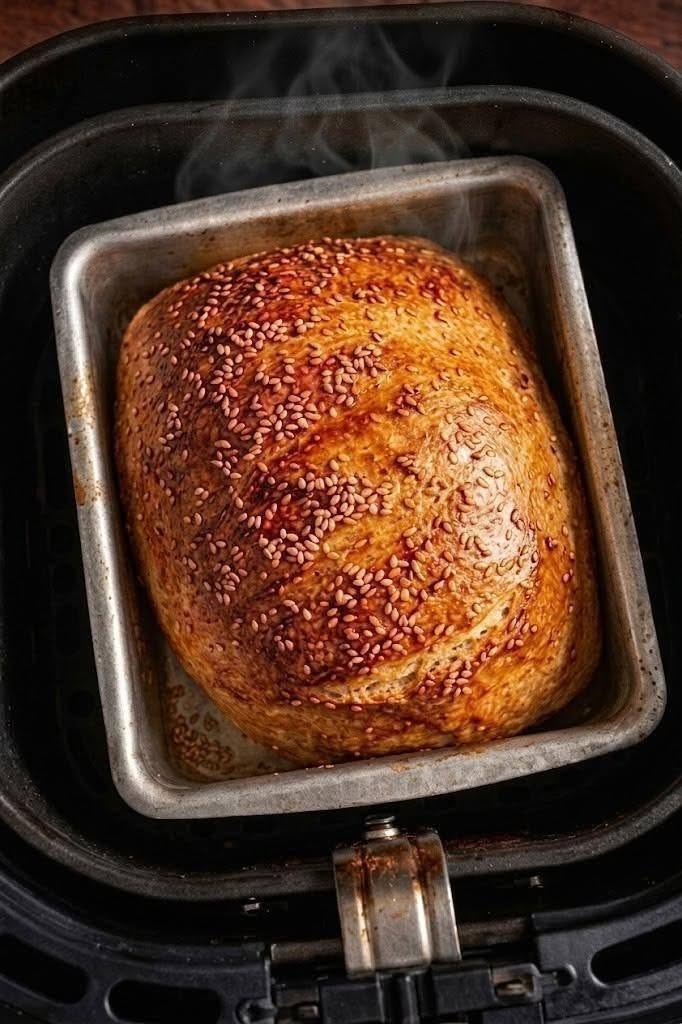
Step-by-Step Instructions
Step 1: Activate the Yeast
In a large mixing bowl, pour in the warm water. Ensure the water temperature sits between 105°F and 110°F; water that is too hot will kill the yeast, while water that is too cold will fail to activate it. Stir in the sugar and active dry yeast. Let the mixture sit undisturbed for roughly 5 to 8 minutes until a light, foamy layer forms across the surface.
Step 2: Mix the Dough
Add the flour and salt directly into the bloomed yeast mixture. Using a sturdy wooden spoon or spatula, stir vigorously until all the dry flour is fully incorporated. The resulting dough will be noticeably wet, shaggy, and sticky—this high hydration is what creates the tender crumb and large air pockets characteristic of classic peasant bread. Do not add extra flour and do not attempt to knead it with your hands.
Step 3: The First Proof
Cover the mixing bowl tightly with a clean, damp kitchen towel or plastic wrap. Place the bowl in a warm, draft-free spot in your kitchen (such as an unheated oven with the light turned on). Let the dough rest for 60 minutes, or until it has expanded to roughly twice its original size and features a bubbly surface.
Step 4: Shape and Second Proof
Generously brush two 1-quart oven-safe glass or metal bowls with the melted butter. Using two forks, pull the dough away from the sides of the mixing bowl toward the center, effectively deflating it slightly and dividing it into two equal portions. Lift each portion out with the forks and place one into each prepared baking bowl. Allow the dough to rise uncovered in a warm spot for another 20 to 30 minutes, or until the dough crowns just to the top of the bowl rims.
Step 5: Bake to Perfection
Preheat your oven to 425°F (218°C). Place both bowls side-by-side on the center oven rack. Bake at 425°F for 15 minutes to establish a strong rise and crisp crust exterior. After 15 minutes, reduce the oven temperature to 375°F (190°C) without opening the oven door, and continue baking for an additional 15 to 17 minutes. The tops should be a rich, golden brown.
Step 6: Cool and Serve
Carefully remove the bowls from the oven using thick oven mitts. Invert the bowls onto a wire cooling rack; the buttery crust should allow the loaves to slide out effortlessly. Turn the loaves right-side up and let them cool for at least 30 minutes before slicing. Slicing warm bread causes trapped steam to escape rapidly, which can result in a gummy texture.
Storage & Shelf Life
Room Temperature: Store cooled loaves in a paper bag or a loose linen cloth for up to 3 days. Avoid plastic bags, as they trap humidity and soften the crispy crust.
Freezing: Slice the bread completely, place the slices into a heavy-duty freezer bag with parchment paper between slices, and freeze for up to 3 months. Toast individual slices directly from the freezer.
Nutritional Information (Per Serving)
Serving Size: 1 slice (~50g) | Servings Per Recipe: 12
Calories: 165 kcal
Total Fat: 2.5g
Saturated Fat: 1.2g
Trans Fat: 0g
Cholesterol: 5mg
Sodium: 390mg
Total Carbohydrates: 30g
Dietary Fiber: 1.5g
Total Sugars: 1g
Protein: 5g
Calcium: 12mg
Iron: 1.8mg
Potassium: 55mg
